Let’s face it, Time Machine is one of the greatest things macOS has to offer, you connect to a disk and the system automatically creates incremental backups. Recovering data is just as simple, you open time machine and select the file you want from whatever point in time or just restore the whole system to an earlier point.
That being said, having to plug a USB drive every time you want to do a backup is not ideal to say the least. Since I already had a media server running Ubuntu I figured there must be a way for time machine to work over the network.
Several years ago when Ubuntu Server 16.04 was the latest available version I bought an external drive, plugged it into my media server and I was able to configure it as a shared time machine over the network for my Mac book pro.
At that time Ubuntu came with a very old version of samba that didn’t support time machine (Version 4.8.0 or newer is required for this to work) Luckily for us as of now Ubuntu 20.04 comes with samba 4.15.9.
Setup
This is going to be the easiest setup possible without requiring you to compile samba. You should use a separate drive for this, in my case I used an external drive I had lying around. This drive is mounted on /bk/timemachine
Through samba I share this folder to my macbook pro, which is able to automatically detect it over the network and backup to it as long as I’m connected to my home WIFI.
Configuration
To configure it you would need to:
- Mount your drive and set it to mount automatically on startup
- Set up the Samba share
- Set up Time machine
Mounting your drive
To set your drive to auto-mount on /bk/timemachine
Open your fstab file with sudo nano /etc/fstab
On this file add a similar line to this at the bottom
/dev/disk/by-id/usb-WD_My_Passport_2626_57585132413231394C33524A-0:0-part1 /bk/timemachine auto nosuid,nodev,nofail,x-gvfs-show 0 0
*Note that the ID of your drive is not going to be the same as mine, make sure you grab the right one from the /dev/disk folder or try mounting by label or UUID.
Set up the samba share
I’m assuming you already are familiar with samba and probably have some shared folders set up.
Open your samba configuration file with:
sudo nano /etc/samba/smb.confAnd add this configuration block at the bottom.
[timemachine]
valid users = <YOUR_UBUNTU_USERNAME>
comment = Time Machine
path = /BK/timemachine
browseable = yes
read only = no
spotlight = yes
vfs objects = catia fruit streams_xattr
fruit:time machine = yes
Then restart your samba service with
sudo service smbd restartSet up timemachine
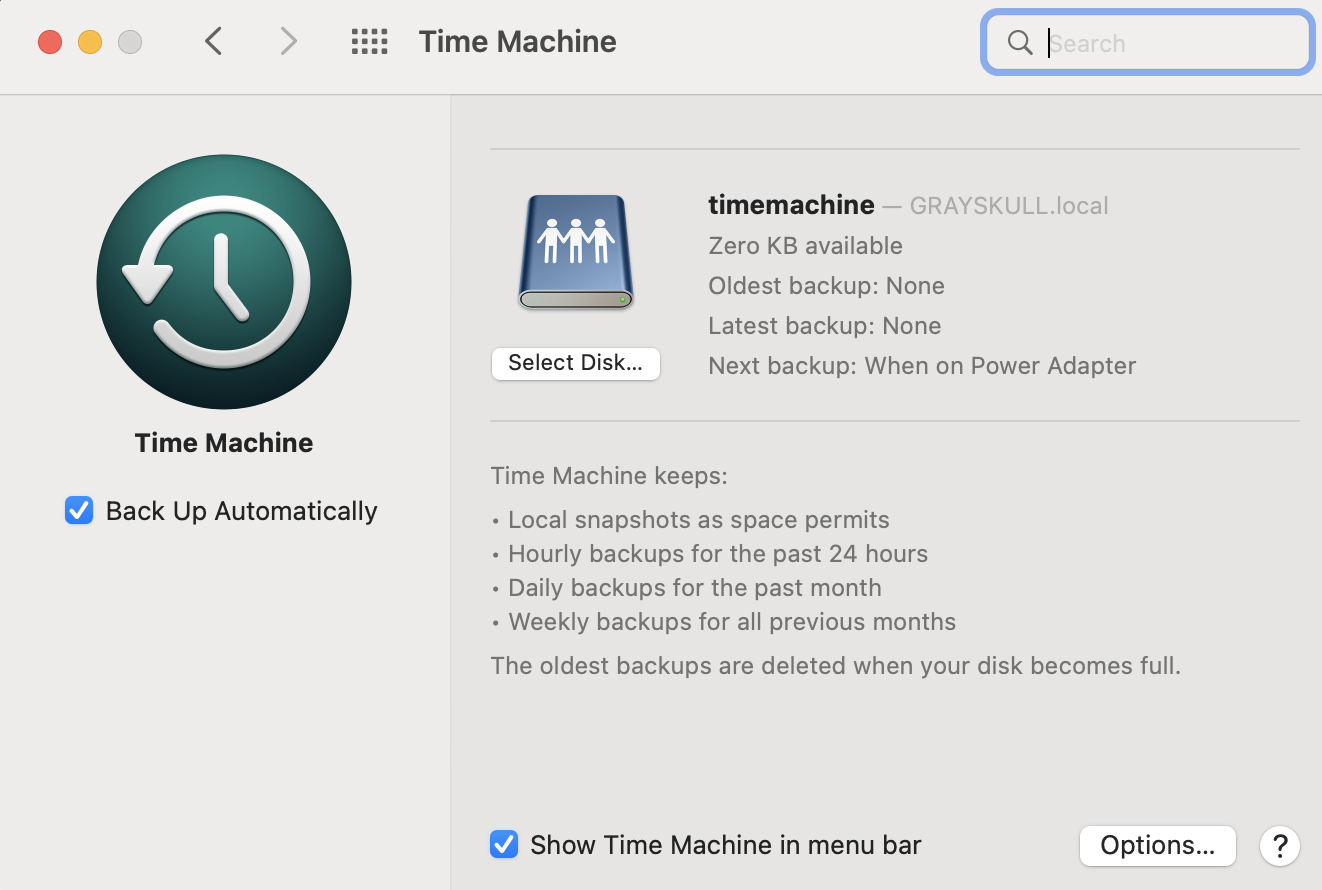
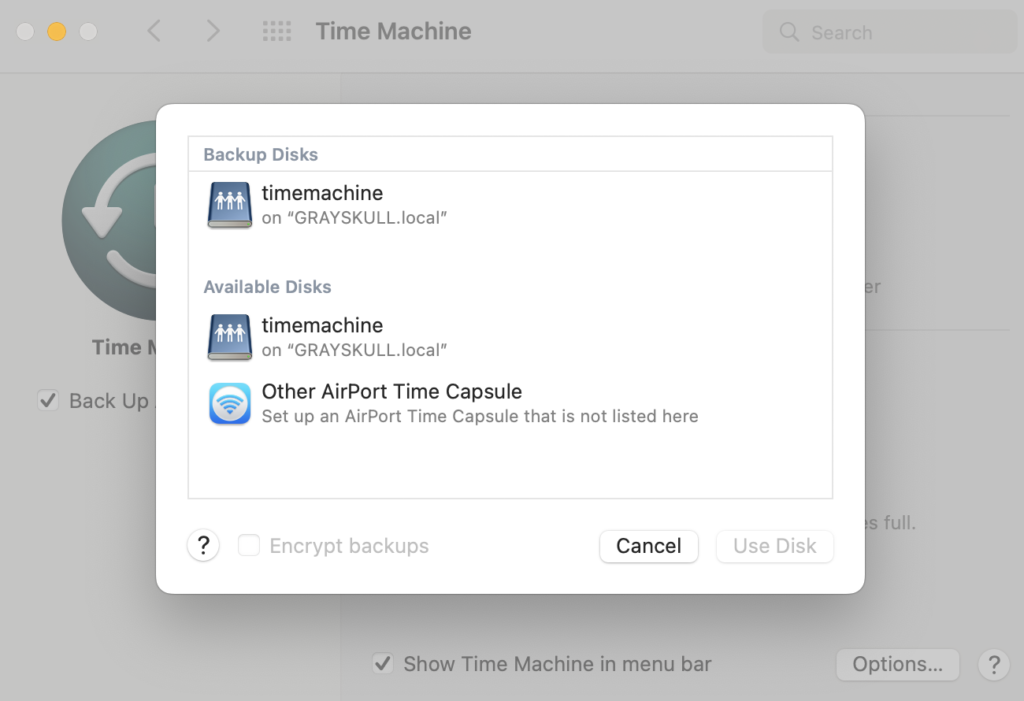
Now open your time machine configuration, click on the select disk button and you should see the timemachine shared folder, it might ask you from the username and password for the share.

And that’s it, your system should automatically backup to the shared drive.
Troubleshooting
If this somehow doesn’t work for you here are some ideas as to what might be wrong:
- Make sure samba is running
run sudo service smbd status
It should say samba is active
- Make sure your user has a samba password setup
Having a Linux user with a password is not enough you need to setup a samba password for your user account
sudo smbpasswd -a username